


We’ve added your top-requested tweaks to eliminate extra clicks and speed up every workflow. Let’s dive in and see how just a few adjustments can save you hours each week
QuickBooks Online Custom Fields Support (WEB)
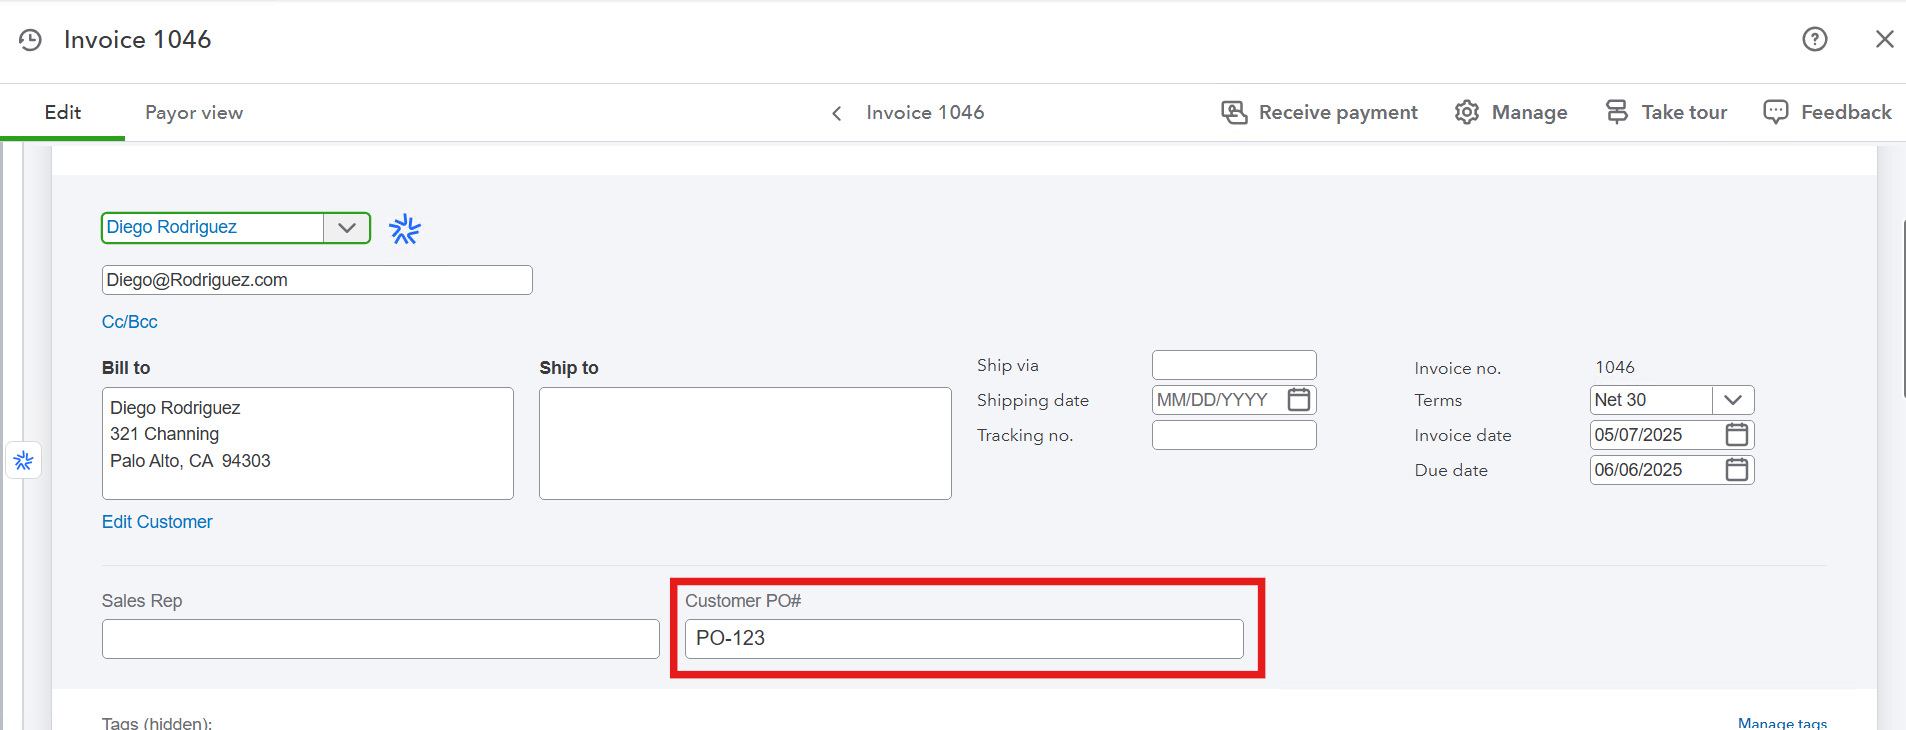
You can now make up to 3 custom text fields set up in QuickBooks Online appear in HandiFox sales and purchase transactions. To showcase the update, let’s see how to set up a custom PO# field in QuickBooks to show up in HandiFox Online.
How to set it up
Go to QuickBooks Online (Advanced)→ Customer Fields → Add custom field
- Click Add custom field and name it, for example “Customer PO#”
- Set Data type: Text and number; Category: Transaction
- Choose the forms* where you need this field (and tick Print on form if you want it visible on invoices/POs)
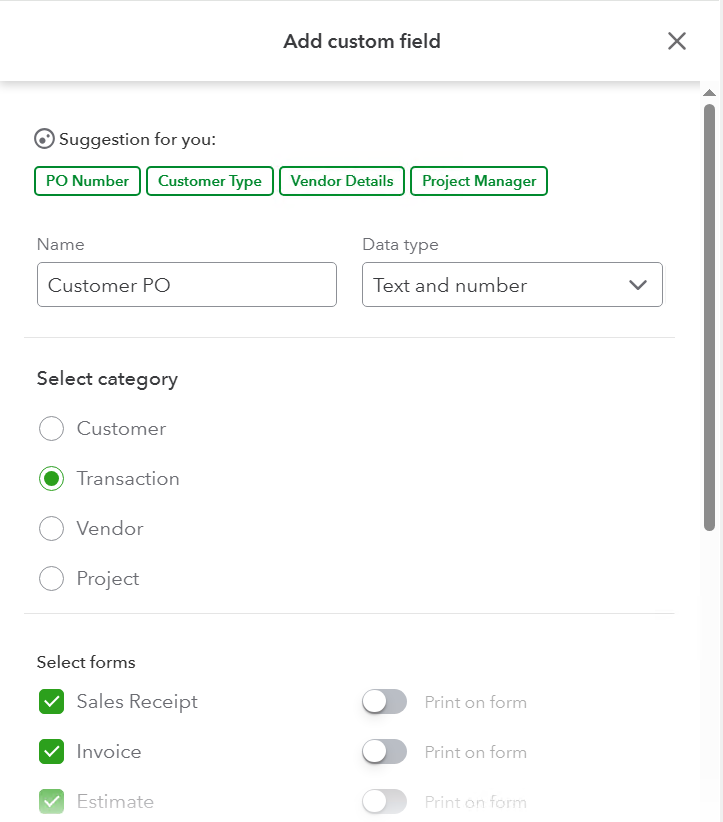
*API limitations mean you must temporarily enable the custom field on all sales forms, sync HandiFox, then disable any you don’t need.
- Save, then sync HandiFox to pull in the new field

Now go to HandiFox Online→ Settings→Custom Fields. Check that the custom field is there.
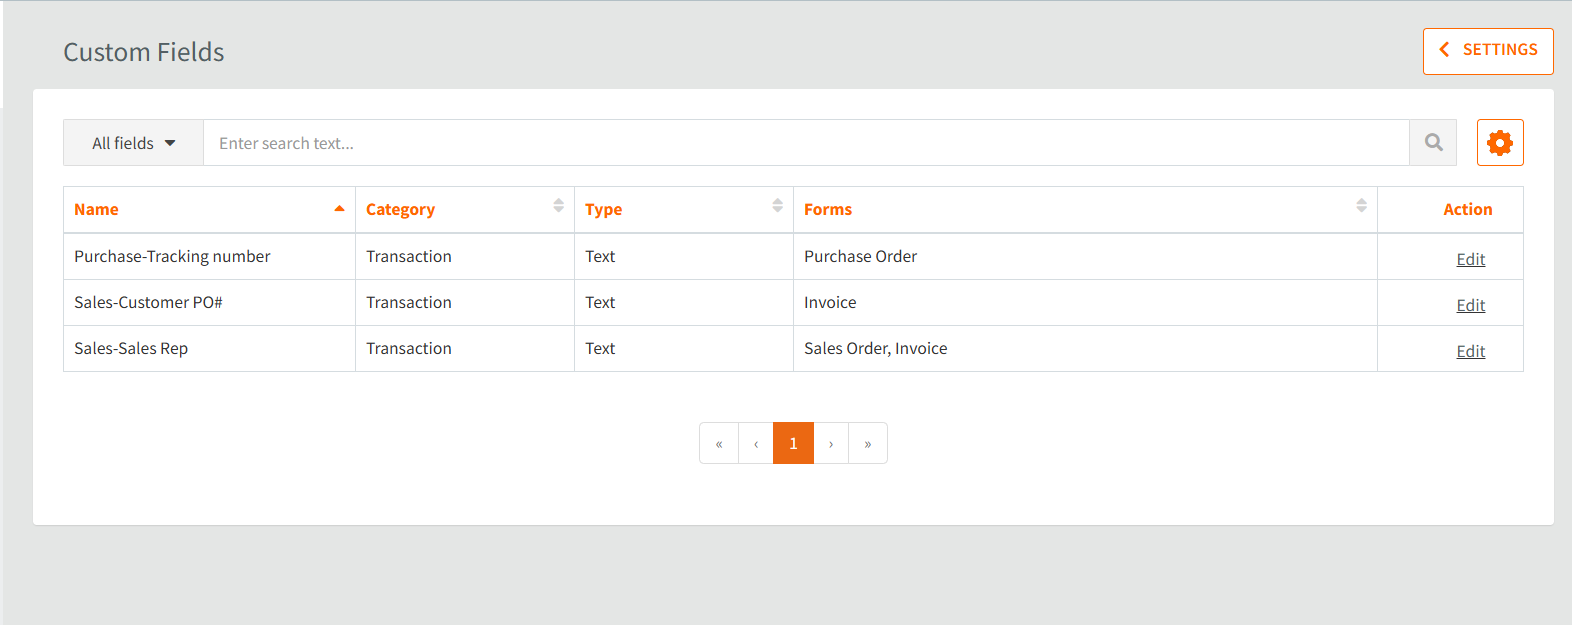
After syncing, head to HandiFox Online → Settings → Custom Fields to confirm your PO# is in place. Then go to Settings → Sales and toggle on ‘Sync PO No with QuickBooks custom field’—no other fields need this extra step.

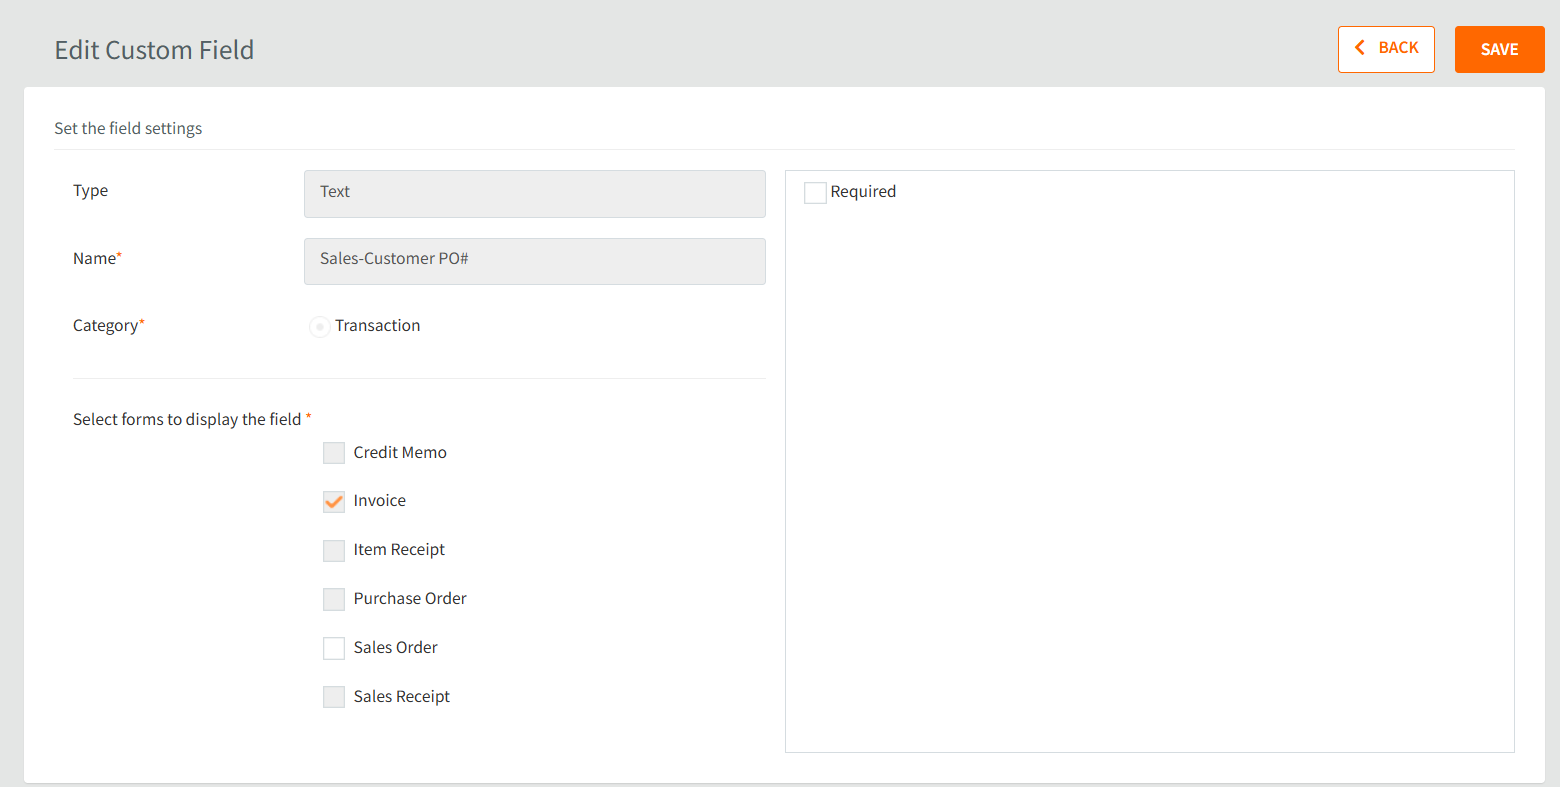
You can make necessary edits to how these custom fields will work in HandiFox Online:
Why it matters
With your customer’s PO# now front and center in both systems, you’ll cut down on mismatched orders.

Set up QuickBooks Online to Assign Invoice Numbers (WEB)
You can now have QuickBooks Online generate invoice numbers instead of HandiFox Online.
How to set it up
In QuickBooks Online:
- Go to Settings (⚙) → Account and settings
- Select the Sales tab
- Sales form content, click Edit (✎)
- Turn OFF Custom transaction numbers
- Click Save, then Done
In HandiFox Online:
- Go to Settings→ Transaction numbers → Invoice
- Enable “Let QuickBooks Online assign numbers to Invoices”
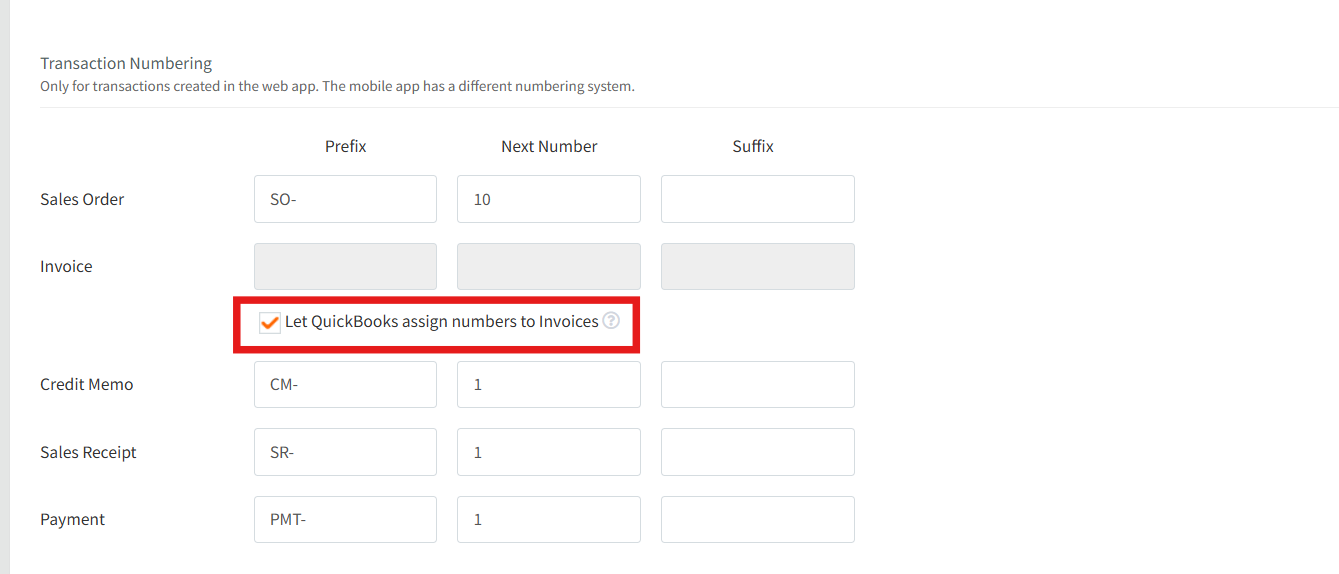
Note: Leave the invoice number field blank in HandiFox. When this field is empty, the system will automatically pull the next available invoice number from QuickBooks Online.

Why it matters:
This setup prevents duplicate invoice numbers and keeps your records clean. By deferring to QuickBooks as the source of truth for invoice sequencing, HandiFox avoids generating conflicting numbers, giving your invoicing process a single, reliable flow.
Note to Customer (WEB)
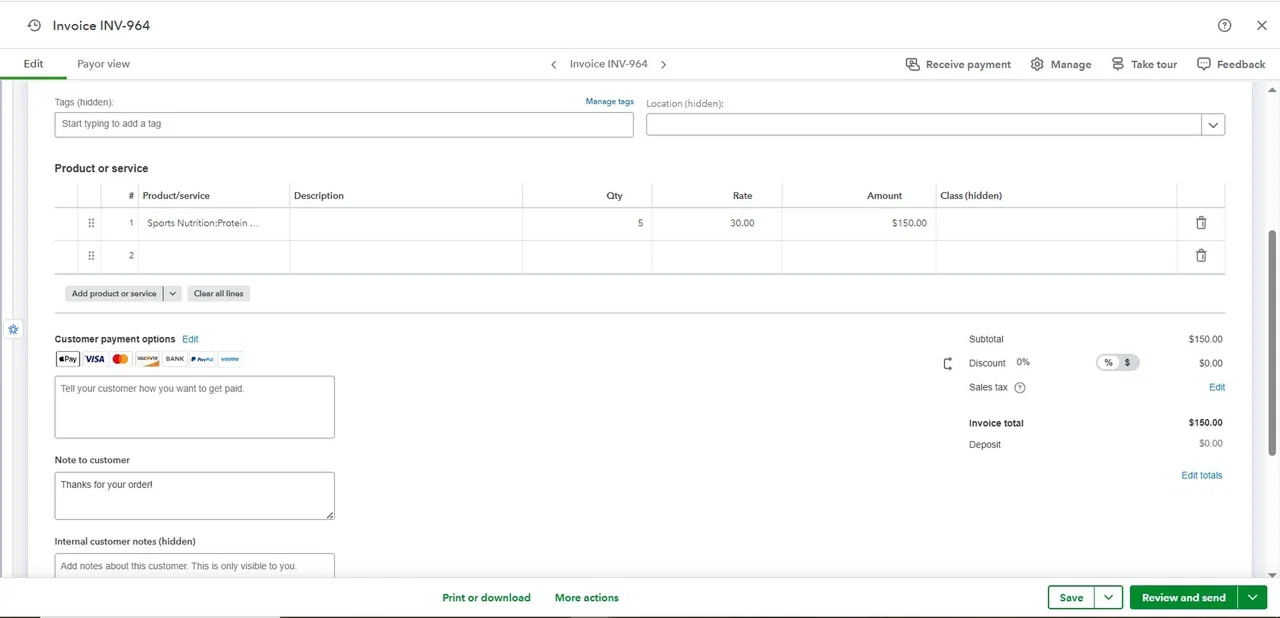
You can now add custom notes to Invoices, Sales Receipts, and Credit Memos in HandiFox Online—and have those notes appear directly in QuickBooks Online.
How to set it up
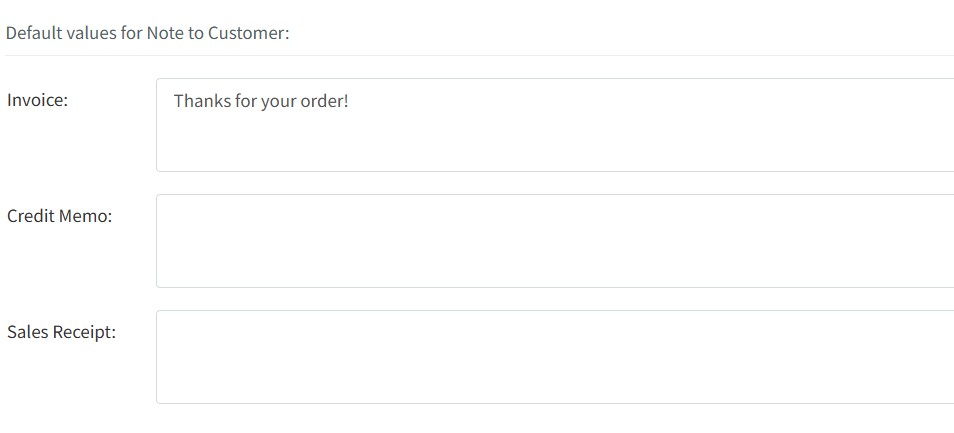
Go to HandiFox Online Settings→Sales→Default value for Note to Customer:
Why it matters
Personalized notes like shipping updates, payment reminders, or special terms now sync seamlessly between systems. This not only saves you time retyping details but also ensures customers always see the right message—no matter which platform you’re working in.
Improved Estimate to Sales Order Conversion (WEB)
We’ve fine-tuned how Estimates from QuickBooks Online convert into Sales Orders in HandiFox Online, focusing on smarter numbering and ship date logic.
How it works
When an Estimate comes to HandiFox Online, you can:
Sales Order Numbering
If an Estimate has a number, the resulting Sales Order will reuse that number.
If it doesn’t, HandiFox Online will auto-generate the next available Sales Order number.
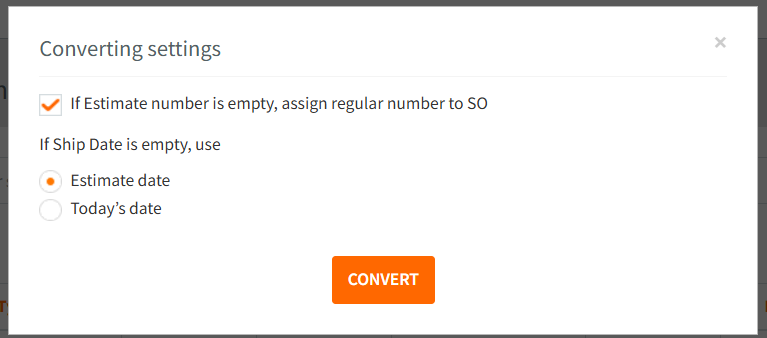
Ship Date Handling
If the Estimate has no Ship Date, you can default it to:
- The Estimate Date, or
- Today’s date
If the Estimate Date is in the future, the SO will use that same future date as its Ship Date.
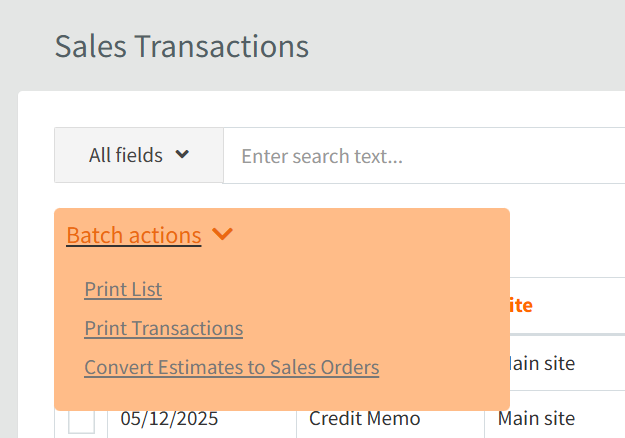
Batch Conversion
Convert multiple Estimates at once:
- Go to Sales Transactions
- Filter by transaction type → select Estimates
- Use Batch actions to convert them to Sales Orders
Why it matters
These improvements help you preserve transaction history and reduce manual corrections. You’ll stay consistent with document numbering and ship dates—even when managing bulk order activity.
Printing Multiple Packing Slips After Partial Packing (WEB)
If you frequently process orders in multiple stages, this one’s for you—you can now print a packing slip after each individual packing session.
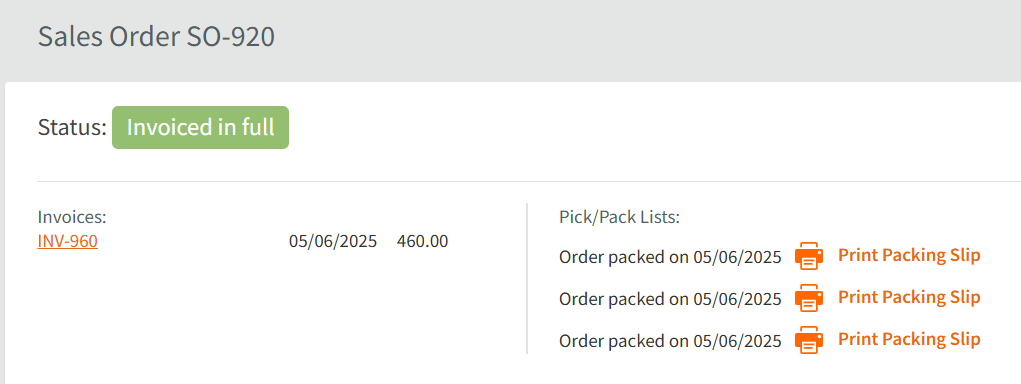
How it works
Every time you partially pack an order, a new packing slip is generated automatically.
You can review, upload, and print it right away—no waiting for the full order to be completed.
Why it matters
This update makes it easier to stay organized when handling split shipments or staged fulfillment. It ensures your warehouse team always has the right paperwork on hand for each outgoing batch—no confusion, no delays.
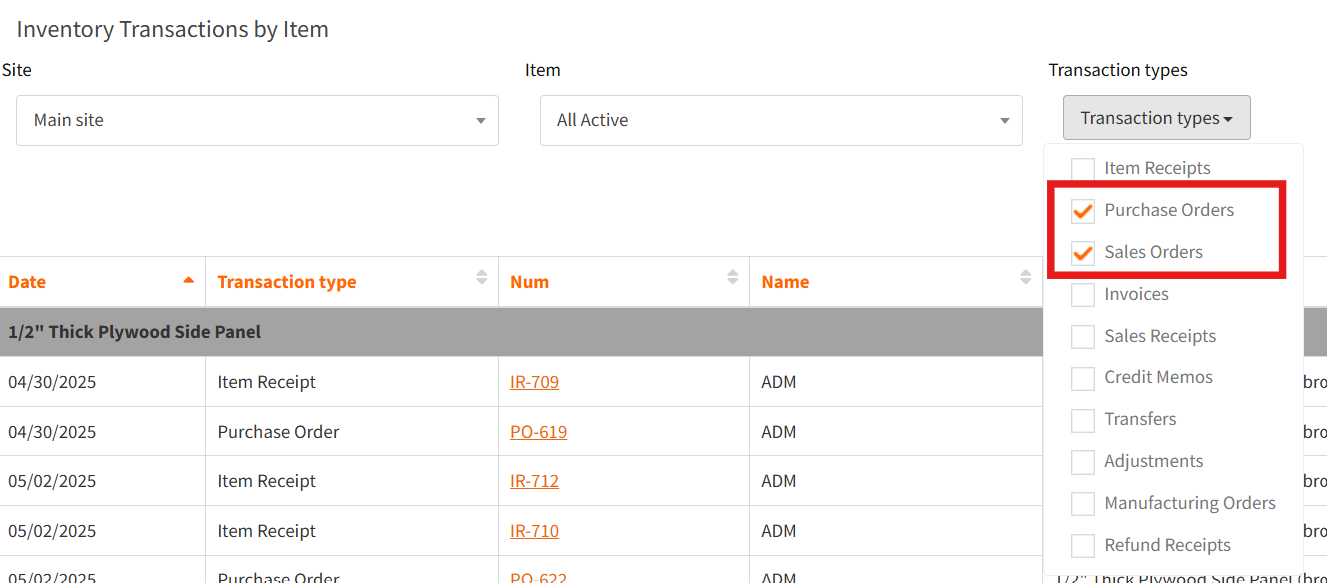
Updated Inventory Transactions by Item Report (WEB)
Now you can see the total for the quantity column:
Also, the Transaction types filter now has Purchase and Sales transactions for you to zoom in on what you’re looking for exactly.
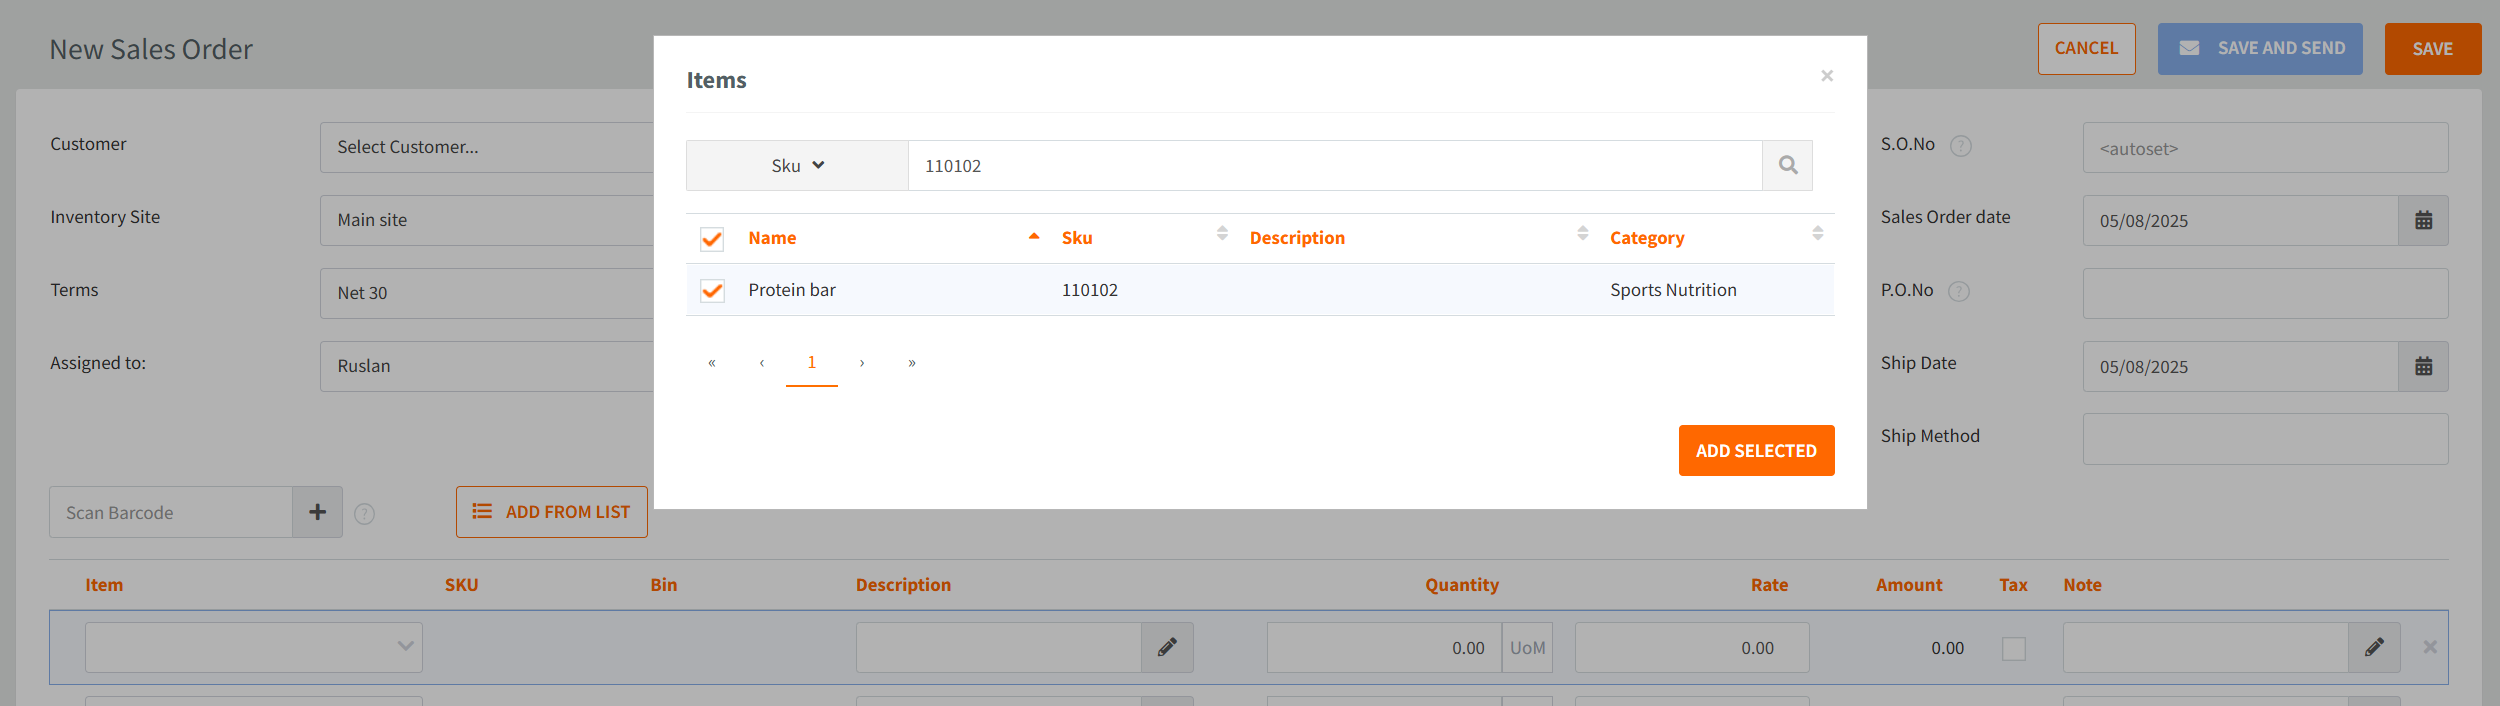
Adding Items by Their SKUs (WEB)
For those of you who work with SKUs more than with product names, now there’s an ability to add items by they SKUs in all transactions.
How it works
1. When creating a transaction, click Add from list next to the Scan barcode field.

2. Use the search bar to enter an SKU or scroll to find it manually.
3. Check the item(s) you want and click Add selected.
Let us know how these updates are working for you—we're always refining based on what matters most to you. And as always, stay tuned for more improvements coming your way.


