.svg)
.jpg)

.jpg)
.jpg)


1
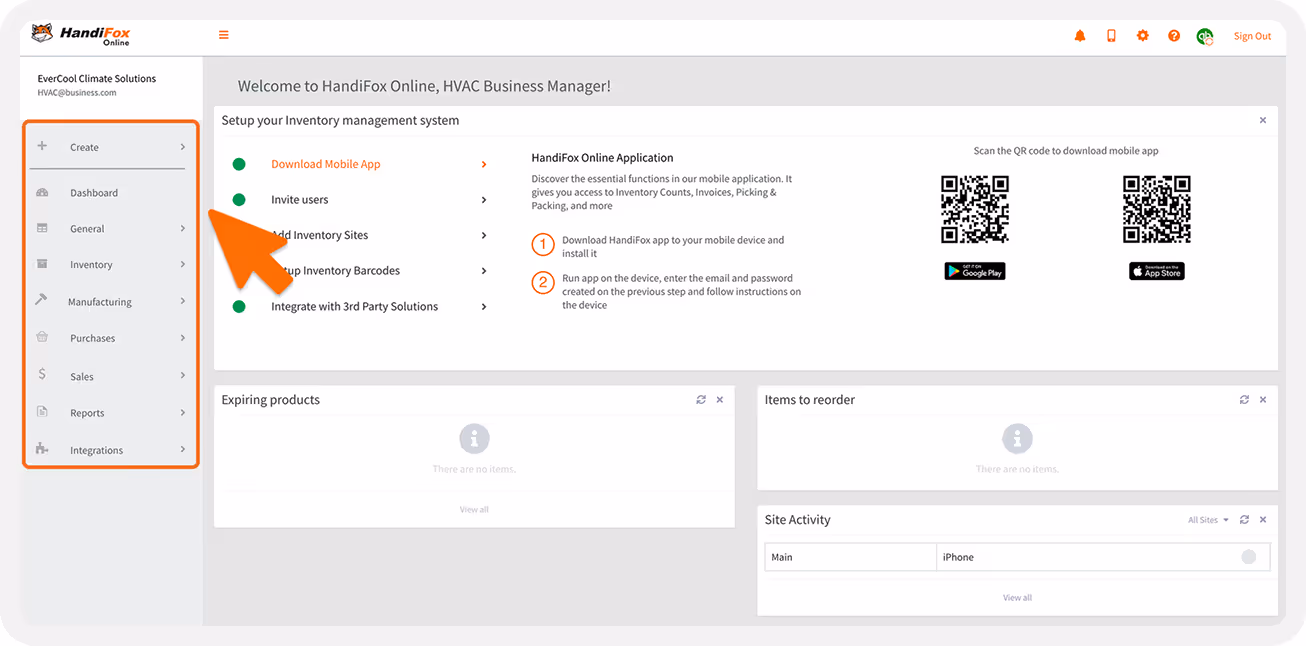
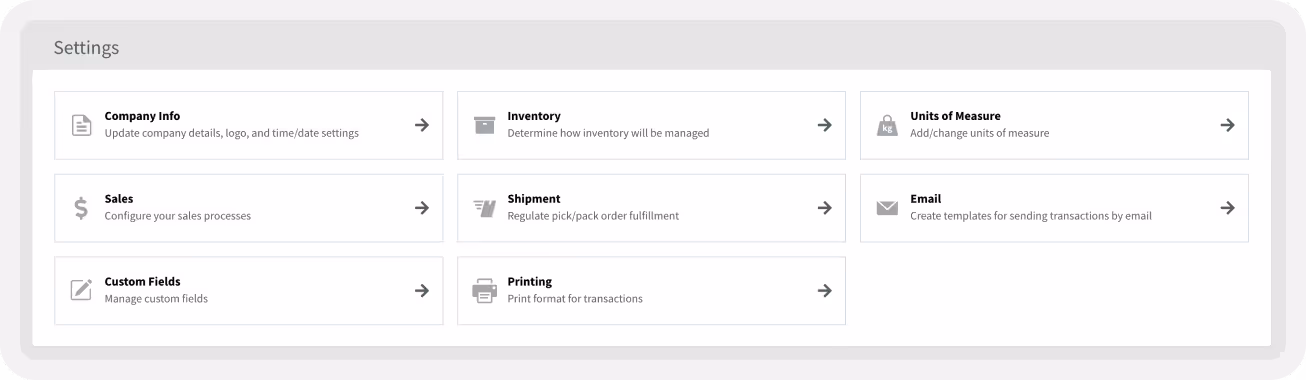
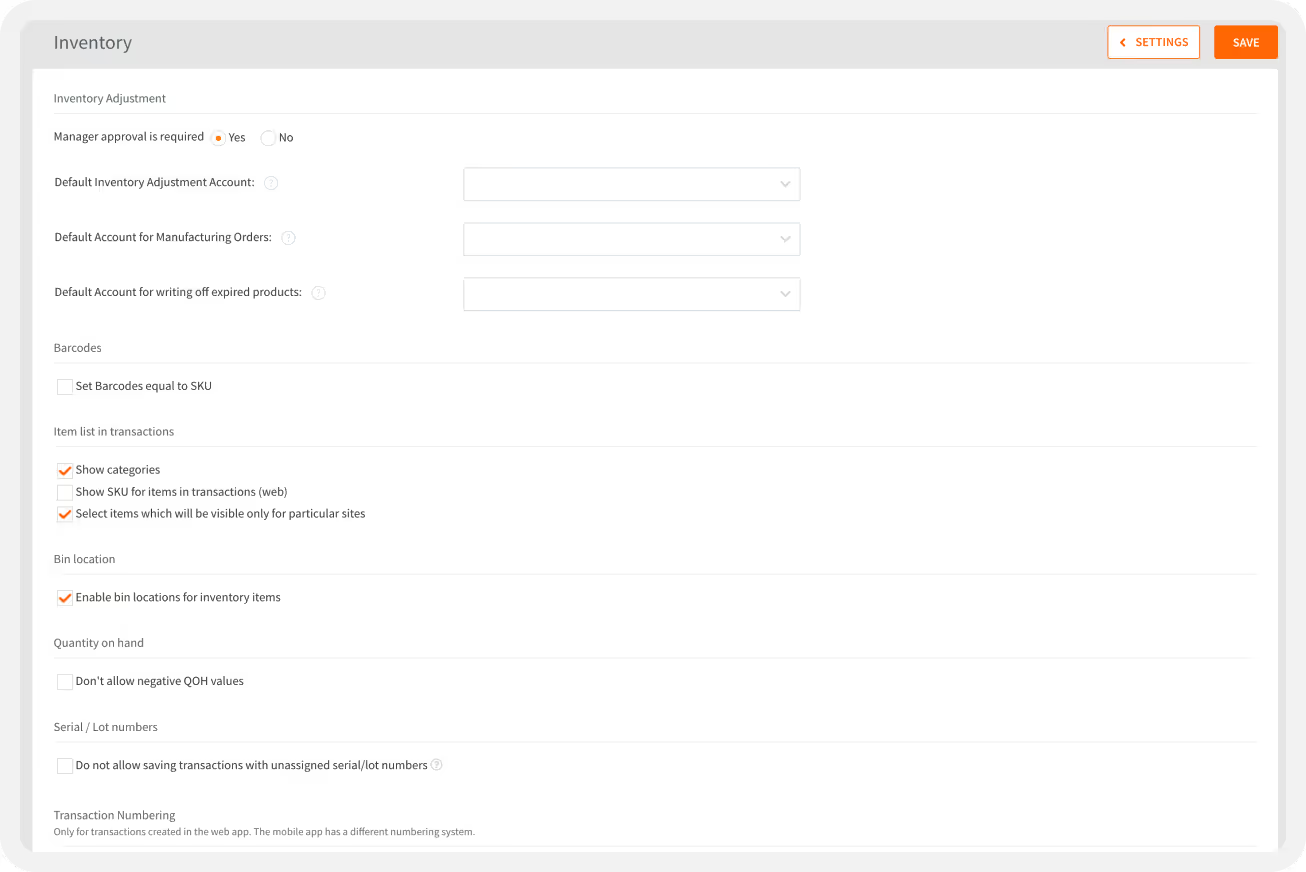
Company settings
Under Company Settings, you’ll find options that apply across all modules of HandiFox Online.
Company Information:
Add or review your company name, address, and other key details. If your account is connected to QuickBooks Online, this information is synced automatically and should be updated only in QuickBooks.
Regional Settings:
Set your date, number formats, and time zone.
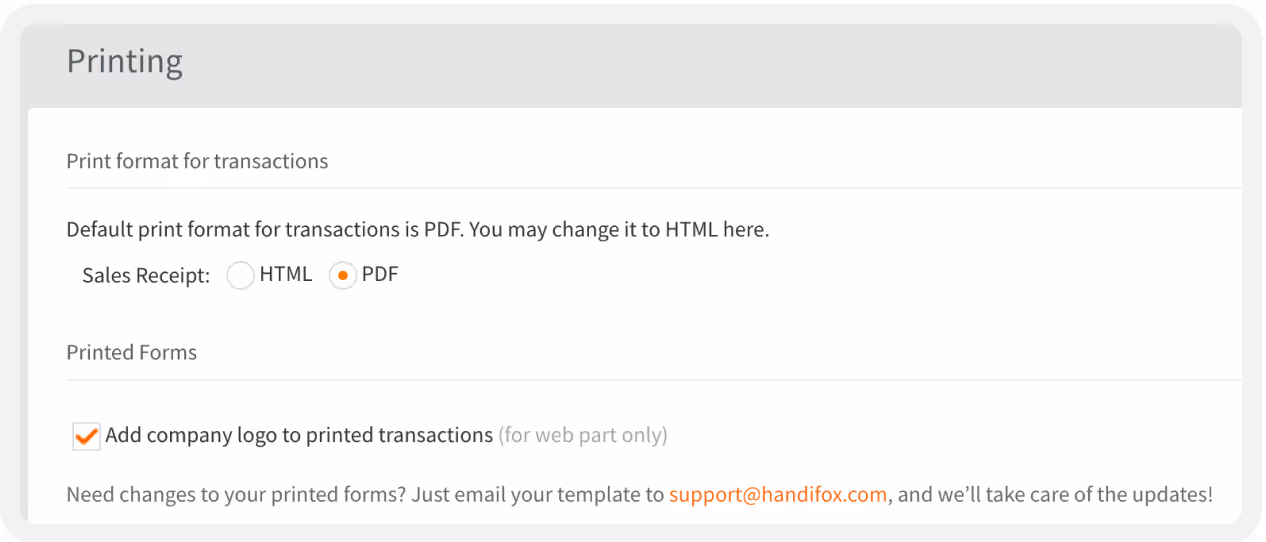
Company Logo:
Upload a logo to appear on your purchase orders, sales orders, invoices, receipts, and other printed forms.
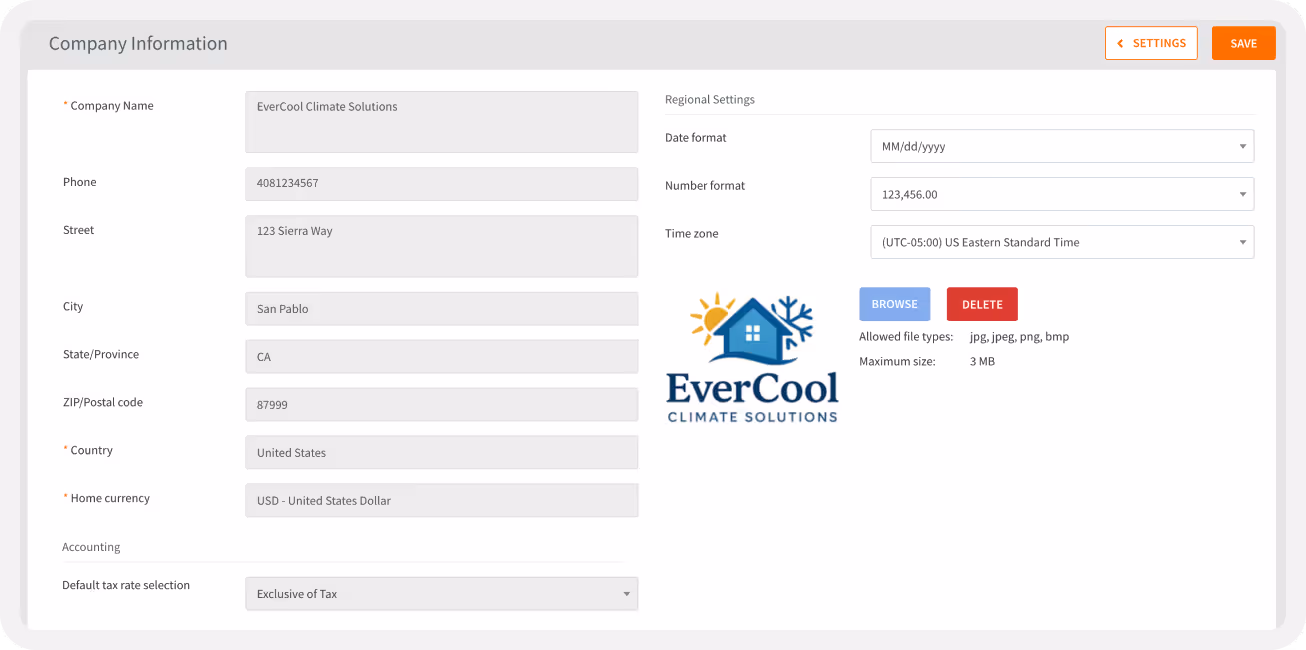
Taxes are also synced directly from QuickBooks Online.

.jpg)


.jpg)

.jpg)